

Understanding Hardwood Floor Installation
Hardwood floor installation is one of the most rewarding home improvement projects for homeowners who value beauty, durability, and long-term value. Whether you’re renovating your living room, updating your entire house, or installing new floors in a commercial space, hardwood offers timeless appeal and exceptional longevity.
However, to achieve that flawless finish, it’s essential to understand the process, materials, costs, and tools involved. From preparing the subfloor to finishing the final plank, every step requires precision and care to ensure the flooring lasts for decades.
However, achieving that flawless finish requires the right combination of materials, preparation, and professional techniques. Whether you plan to take the DIY route or hire a contractor, understanding the costs, tools, and installation methods will help you make informed decisions.
DIY vs Professional Hardwood Floor Installation: Comparison Table
| DIY Hardwood Floor Installation | Professional Hardwood Floor Installation |
|---|---|
| Lower upfront cost | Higher cost due to labor charges |
| Great for small projects | Best for large or complex areas |
| Requires time and patience | Saves time and ensures precision |
| Needs basic carpentry skills | Performed by trained experts |
| Must rent or buy tools | Professionals bring all tools |
| Risk of installation errors | Guaranteed quality results |
| Ideal for budget-conscious homeowners | Ideal for those seeking perfection |
| Limited design options | Access to custom designs and finishes |
| Can be physically demanding | Less stress for the homeowner |
| Takes longer to complete | Faster and more efficient process |
| No professional warranty | Usually includes warranty coverage |
| Mistakes can increase costs | Reduces risk of costly errors |
| May lack perfect alignment | Precise fitting and finishing |
| Suitable for one room projects | Suitable for full home renovations |
| Learning curve involved | Expertise built through experience |
| No help with subfloor prep | Subfloor tested and leveled properly |
| Cleanup required by homeowner | Cleanup often included in service |
| Greater sense of accomplishment | Guaranteed professional look |
| Limited by your available time | Completed on schedule |
| Must research techniques | Professionals already trained |
| Possible uneven surfaces | Perfectly smooth, even results |
| Can improve DIY skills | Enhances home’s resale value |
| High risk for first-timers | Low risk and long-lasting results |
| May void manufacturer warranty | Protects flooring warranty |
| Best for light traffic areas | Ideal for any type of flooring project |
Types of Hardwood Flooring Options
Before beginning installation, it’s crucial to choose the right type of hardwood that fits your budget and lifestyle. Generally, there are two main categories:
Solid Hardwood Flooring
Made from a single piece of timber, this option offers authenticity and can be sanded and refinished multiple times. It’s ideal for living rooms and bedrooms, but may not be suitable for humid areas.
Engineered Hardwood Flooring
Built with multiple layers of wood veneer, engineered hardwood is more stable and moisture-resistant. It’s perfect for basements, kitchens, or areas with fluctuating humidity.
Each option is available in various finishes, colors, and species, including oak, maple, cherry, walnut, and hickory, giving homeowners plenty of design flexibility.
Cost of Hardwood Floor Installation
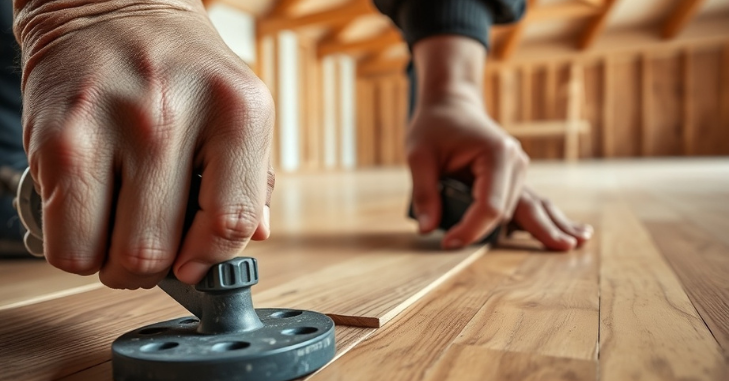
Hardwood floor installation costs depend on materials, labor, and floor size. In 2025, expect to pay $6–$12 per square foot on average.
Typical cost breakdown
- Materials: $3–$8 per sq. ft.
- Labor: $3–$5 per sq. ft.
- Underlayment/Finishing: $1–$3 per sq. ft.
High-end woods like walnut or Brazilian cherry may cost over $15 per sq. ft. Always request multiple quotes to compare prices.
Essential Tools Required for Installation

Whether you’re planning a DIY project or hiring professionals, having the right tools makes a significant difference. Below are some must-have tools for hardwood floor installation:
- Measuring Tape & Chalk Line: For accurate room measurement and layout alignment.
- Flooring Nailer or Stapler: Helps fasten planks securely to the subfloor.
- Rubber Mallet: Used to tap boards into place without damaging the wood.
- Saw (Miter or Table Saw): For cutting planks to fit around corners or obstacles.
- Moisture Meter: Ensures wood and subfloor moisture levels are within range.
- Tapping Block & Pull Bar: Helps close gaps between planks tightly.
- Safety Gear: Gloves, knee pads, and safety goggles for protection.
These tools ensure clean cuts, precise alignment, and proper fastening, all key to achieving a smooth, professional-looking floor.
Preparation: The Foundation of a Perfect Installation
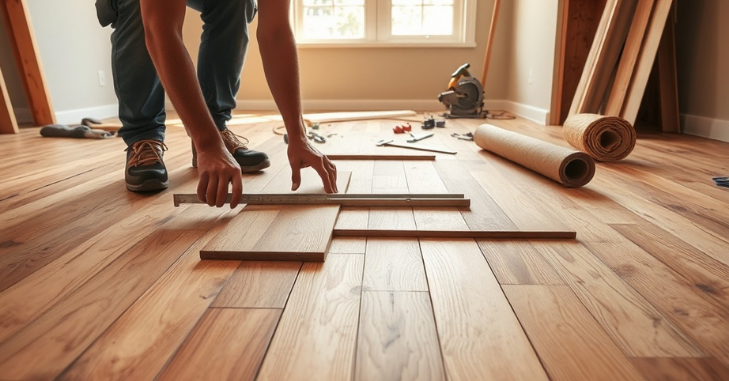
Preparation is the most critical phase of hardwood floor installation. Before laying the first plank, you must inspect and prepare the surface properly:
- Subfloor Inspection: Ensure the subfloor is dry, flat, and clean. Remove nails, debris, or old adhesives.
- Moisture Testing: Wood expands and contracts with humidity, so always test moisture levels before starting.
- Acclimatization: Allow hardwood planks to sit in the room for 48–72 hours to adjust to the room’s temperature and humidity.
- Underlayment Installation: For engineered floors, a vapor barrier or underlayment helps reduce noise and moisture.
Skipping these steps often results in uneven floors, gaps, or squeaking later.
Popular Hardwood Floor Installation Techniques

There are three main installation techniques used, depending on the type of hardwood and subfloor condition:
Nail-Down Method
Typical for solid hardwood, this technique involves nailing each plank into a wooden subfloor. It provides strong stability but requires precise alignment and professional tools.
Glue-Down Method
For engineered hardwood, planks are adhered directly to the subfloor with a special adhesive. It’s ideal for concrete surfaces or below-grade rooms.
Floating Method
Popular for DIY installations; the floating method connects planks using click-lock systems without nails or glue. The floor “floats” above the subfloor with underlayment beneath for cushioning.
Each method has its pros and cons, but professional installers often recommend the one best suited to your space and flooring type.
Expert Installation Tips for a Flawless Finish
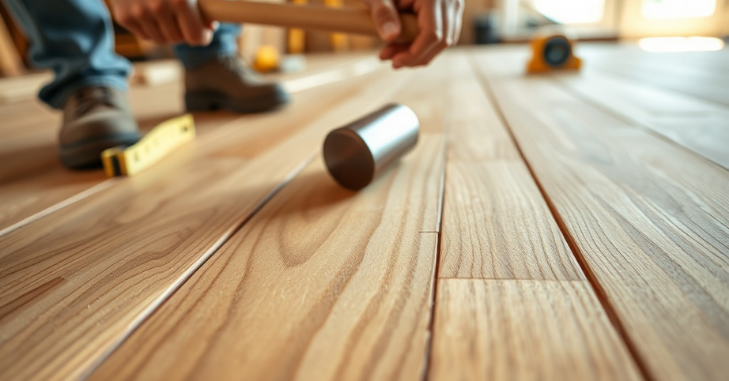
Professionals emphasize precision and patience during hardwood floor installation. Here are some expert-backed tips to ensure a stunning and long-lasting result:
- Start Straight: Begin laying planks along the longest wall or toward the natural light for an even look.
- Stagger Joints: Offset end joints between rows by at least 6 inches for a balanced appearance.
- Maintain Expansion Gaps: Leave a ½-inch gap between the flooring and walls to allow for wood expansion.
- Inspect Each Plank: Check for defects, warping, or color variations before installation.
- Use Transition Strips: Install between rooms or doorways for a seamless flow.
- Clean as You Go: Remove sawdust and debris regularly to avoid scratches or uneven placement.
These small yet essential steps make a big difference in the overall finish and longevity of your hardwood floor.
Post-Installation Care and Maintenance
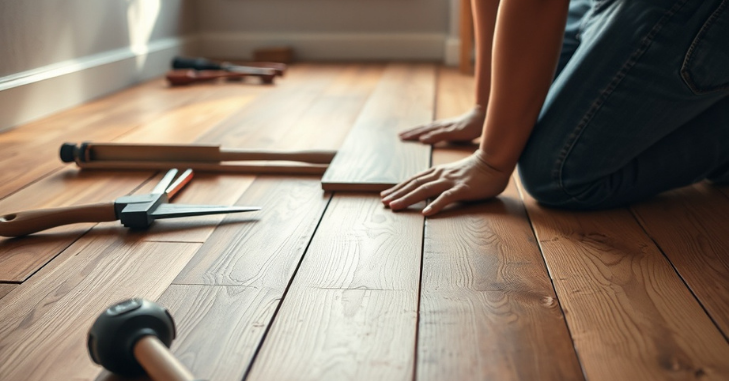
Once the floor is installed, proper maintenance ensures it remains beautiful for years. Here’s how to care for your new hardwood floors:
- Regular Cleaning: Sweep or vacuum frequently to prevent dirt buildup.
- Avoid Excess Moisture: Use a damp mop rather than a wet one to prevent water damage.
- Protective Pads: Attach felt pads to furniture legs to avoid scratches.
- Refinishing: Depending on foot traffic, refinishing every 7–10 years keeps the surface looking new.
- Climate Control: Maintain indoor humidity between 35–55% to minimize expansion or contraction.
With consistent care, your hardwood floors can maintain their shine and strength for decades, enhancing both the look and value of your home.
When to Hire a Professional Installer?
While DIY hardwood floor installation may seem tempting, it requires skill, tools, and experience. Professional installers not only ensure precise fitting and alignment but also handle complex areas like staircases, corners, and irregular layouts.
Hiring a certified contractor is particularly important when dealing with expensive materials or intricate design patterns such as herringbone or parquet. Professionals can also help with subfloor assessment, moisture testing, and warranties, protecting your investment in the long run.
Conclusion
Installing hardwood floors is more than just a home improvement project; it’s an investment in long-term quality and design. By choosing the right materials, following proper installation techniques, and maintaining your floors regularly, you can enjoy lasting beauty and value for years to come.
Whether you do it yourself or work with professionals, careful planning and attention to detail will ensure a smooth process and a stunning result. With the proper knowledge and care, your hardwood floors will remain a centerpiece of your home’s charm and elegance.
Want to know about Best Juicers of 2024: Top Picks & Buying Guide Check out our Home Improvement category.
Frequently Asked Questions (FAQs)
The average cost of hardwood floor installation in 2025 ranges between $6 and $12 per square foot, including both materials and labor. Prices vary depending on the type of wood, room size, and whether you choose solid or engineered hardwood.
DIY installation is possible if you have the right tools, patience, and basic carpentry skills. However, hiring a professional installer ensures better precision, alignment, and long-term durability; especially for large or complex projects.
Essential tools include a flooring nailer or stapler, measuring tape, a moisture meter, a saw, a tapping block, a pull bar, and safety gear.